Last time we discussed
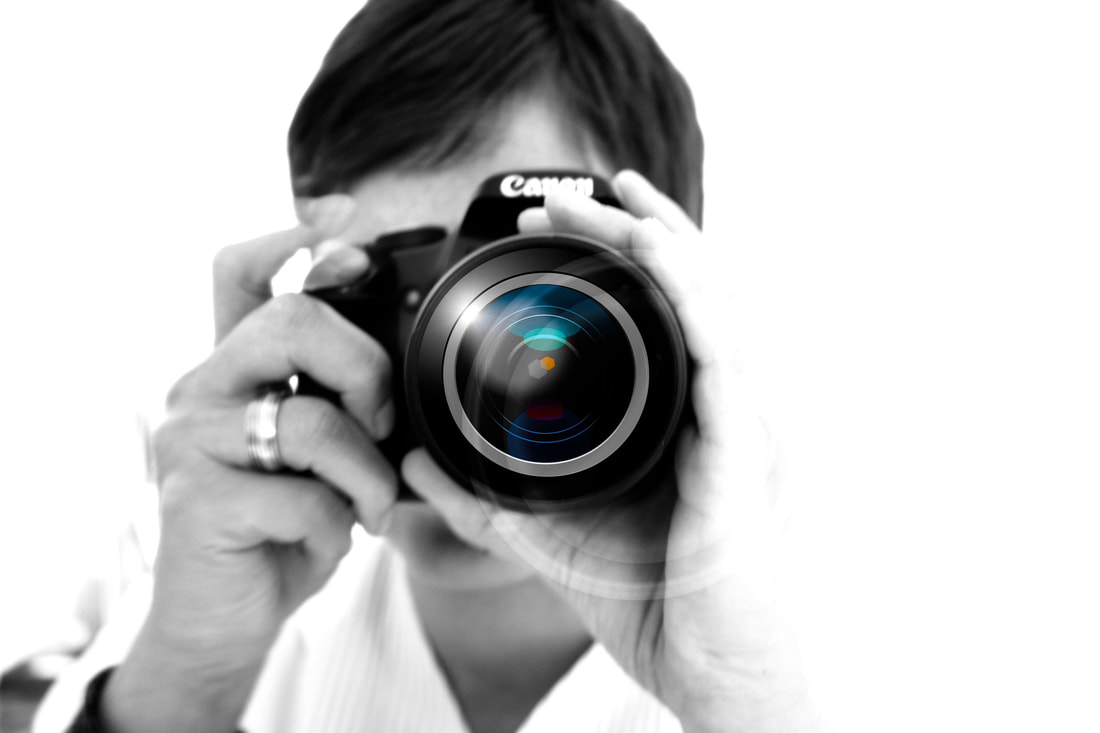
1. how to hold the camera
2. how to focus accurately & how to select the focus zone
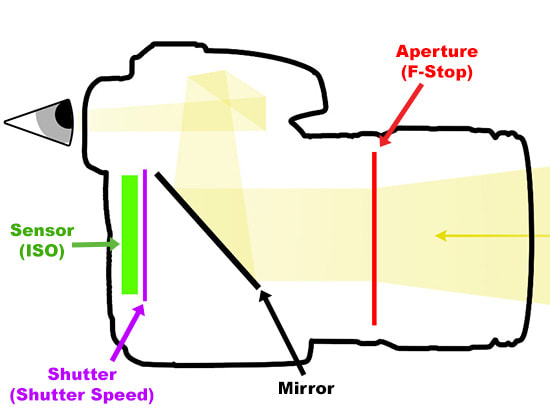
3. a little bit about what happens inside the camera when you shoot a picture
4. and introduced the Exposure Triangle
5. and some of the group practised Scene Modes
1. how to hold the camera
2. how to focus accurately & how to select the focus zone
3. a little bit about what happens inside the camera when you shoot a picture
4. and introduced the Exposure Triangle
5. and some of the group practised Scene Modes
Auto - Program & Scene Modes
setting up to shoot a great picture every time
Today we will focus more strongly on the main control dial and discuss how to choose the best setting for individual scenarios.
We will look at Camera Modes and Scene Modes and then look at Shutter Priority in more detail and take some pictures
Before we start let's have a quick refresh on Camera handling.
1. Take cameras out - put the strap around neck immediately
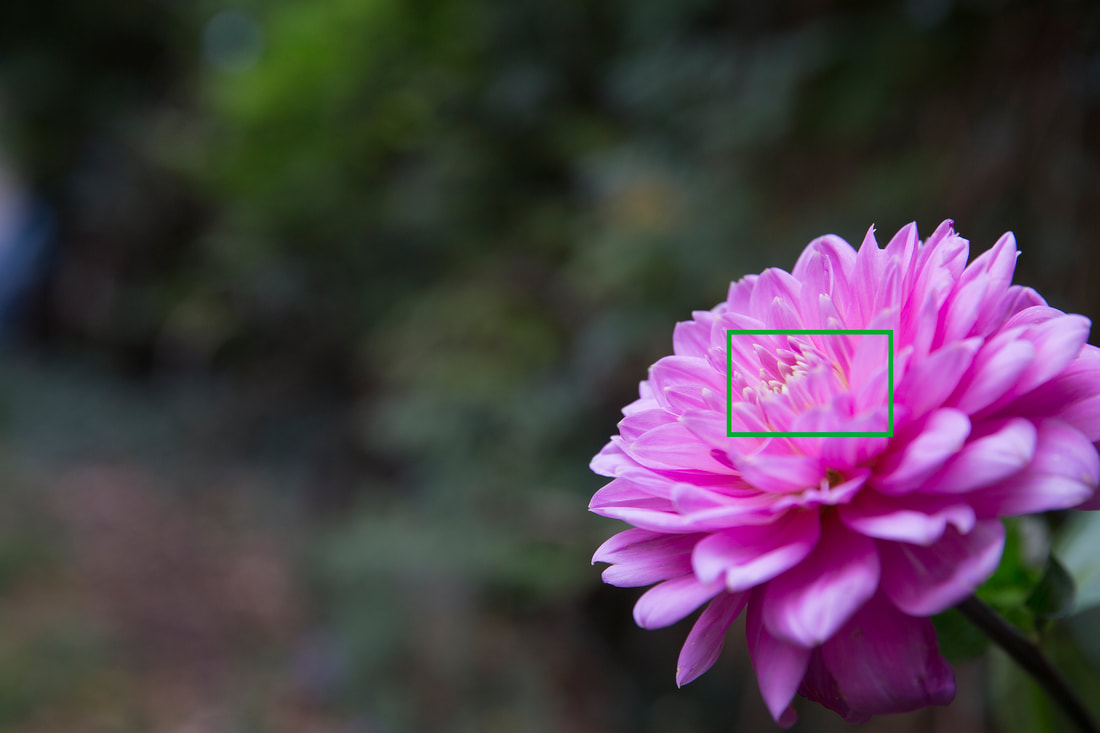
2. Check the lens is clean. Fingerprints and dirty lenses will ruin your pictures quicker than any mistakes you might make in technique
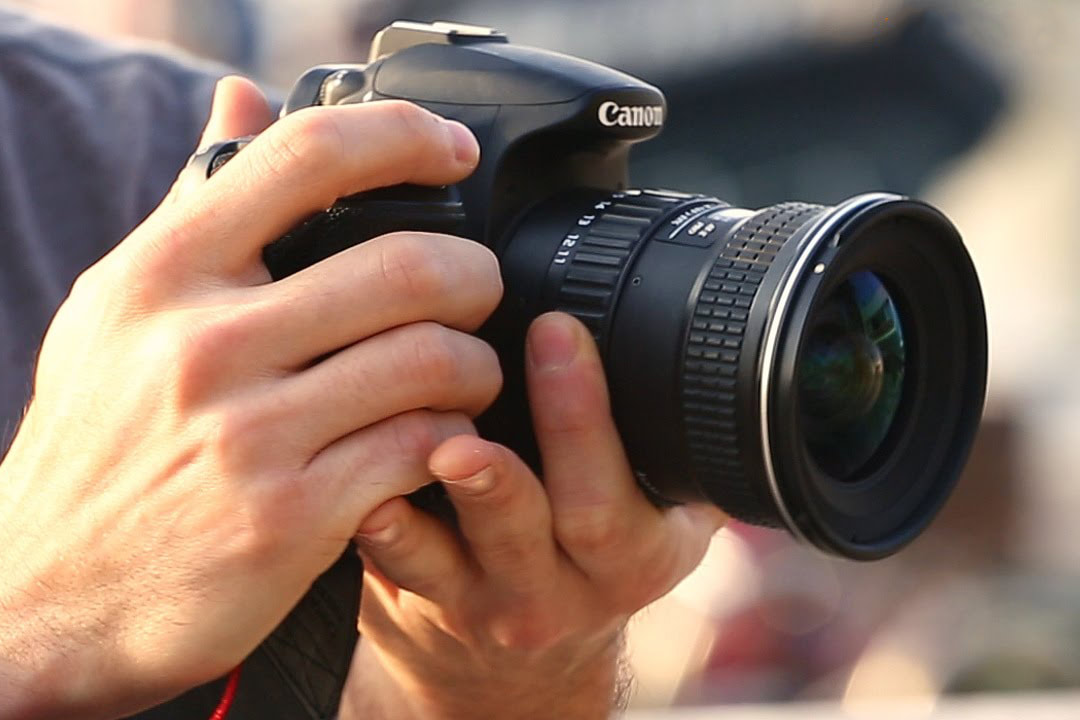
3. Hold the camera properly. Right hand on the body. Left hand on the lens
4. In pairs quickly practise Focus Lock

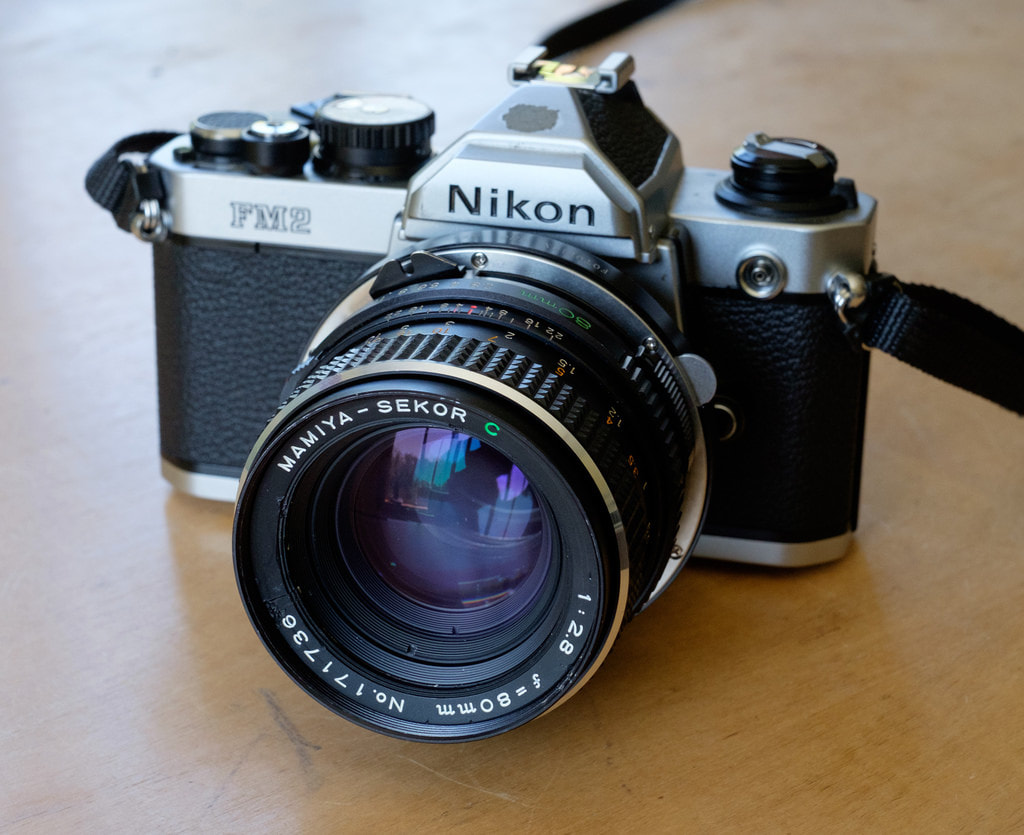
This is the camera I used when i started out as a professional photographer.
|
|
Today it's very very different. Digital cameras are loaded with amazing technology and in lots of situations they will take care of all the tricky decision making for you. But they are can be very confusing for everyone - whether beginner or experienced photographer. There are so many buttons and options and menus and sub-menus that it's almost imposssible for new or occasional photographers to make sense of the thing in their hands. And if you do make an effort to learn - the language and jargon makes it difficult.
So we need to simplify things. Get a sense of what's important and what you need to know to get started - and then give you a route forward if you want to learn more.
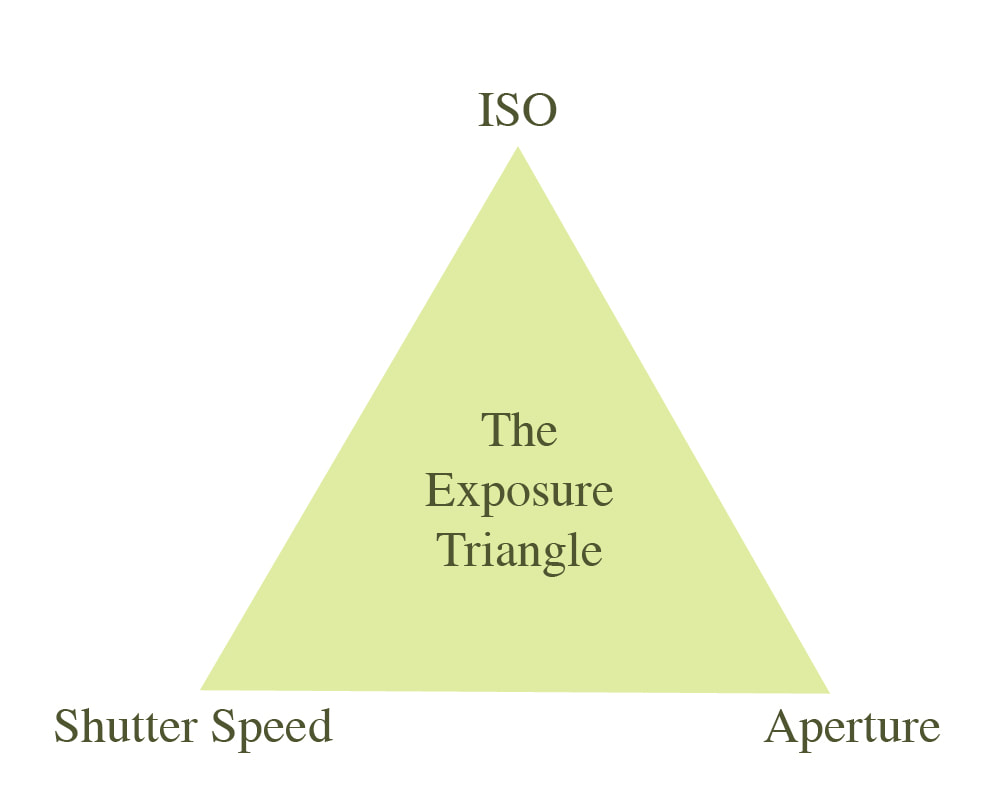
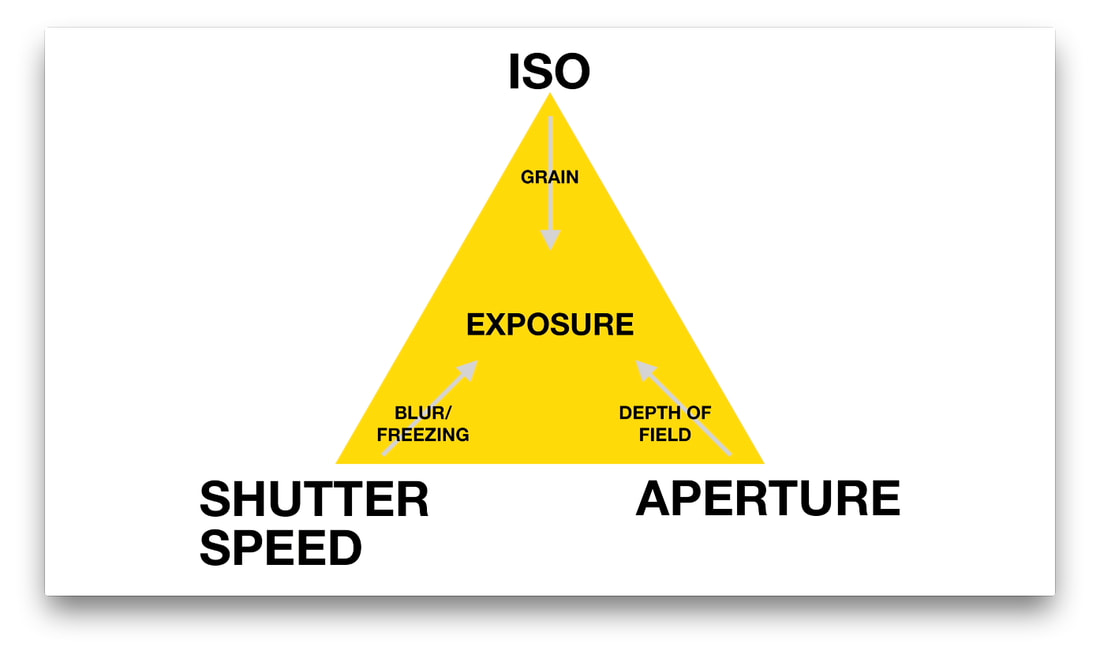
The Exposure Triangle and how a camera works

What do we want to do with our cameras ?
Your Camera knows best
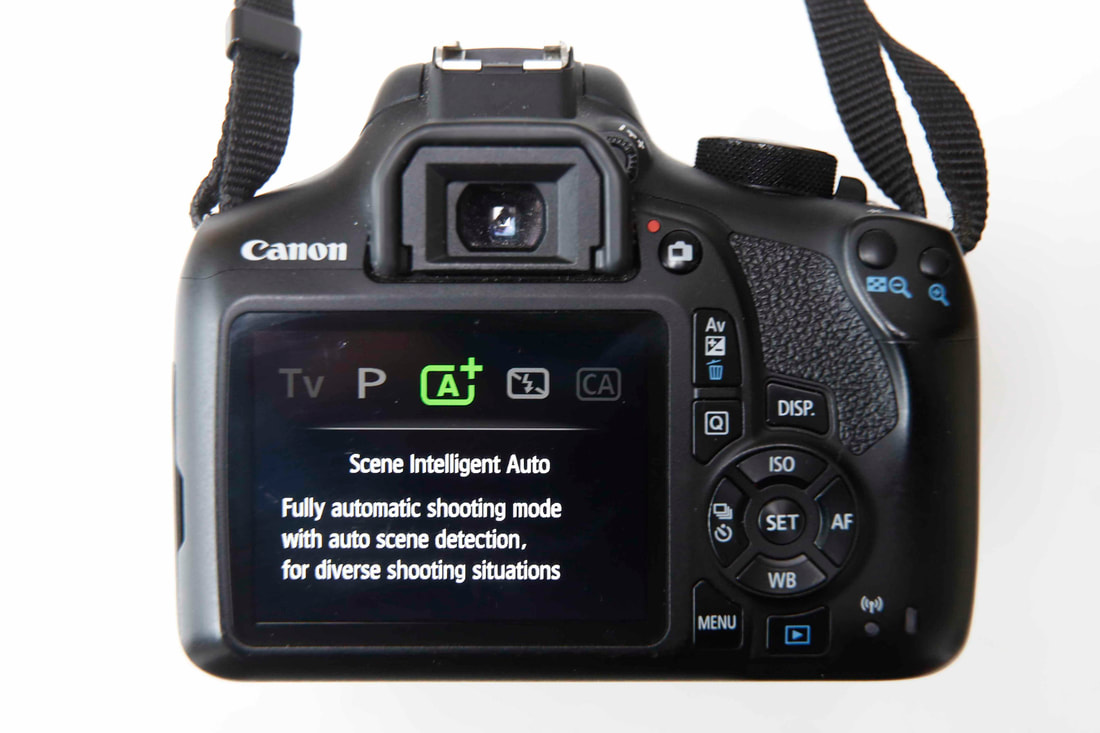
At the start you should be using the Auto modes and letting your camera make a lot of the difficult decisions. Auto and Program are your friends & Auto ISO will always give you the best ISO quality setting. This is the set-up advice we give to our students when they have a new camera and it's relevant for all photographers .
Camera Control Dial
Your camera will have a top dial like this. Not exactly the same but with most of the same symbols. New cameras have more sophisticated automated program and scene modes but the manual, auto and semi auto modes will be the same
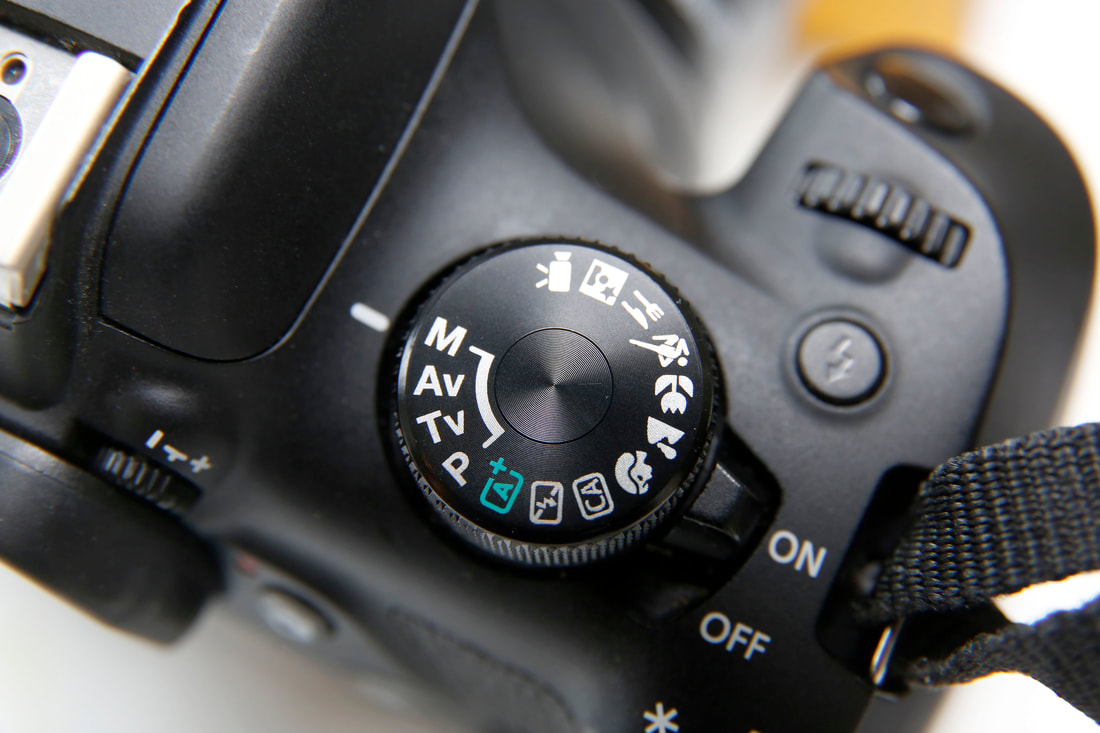

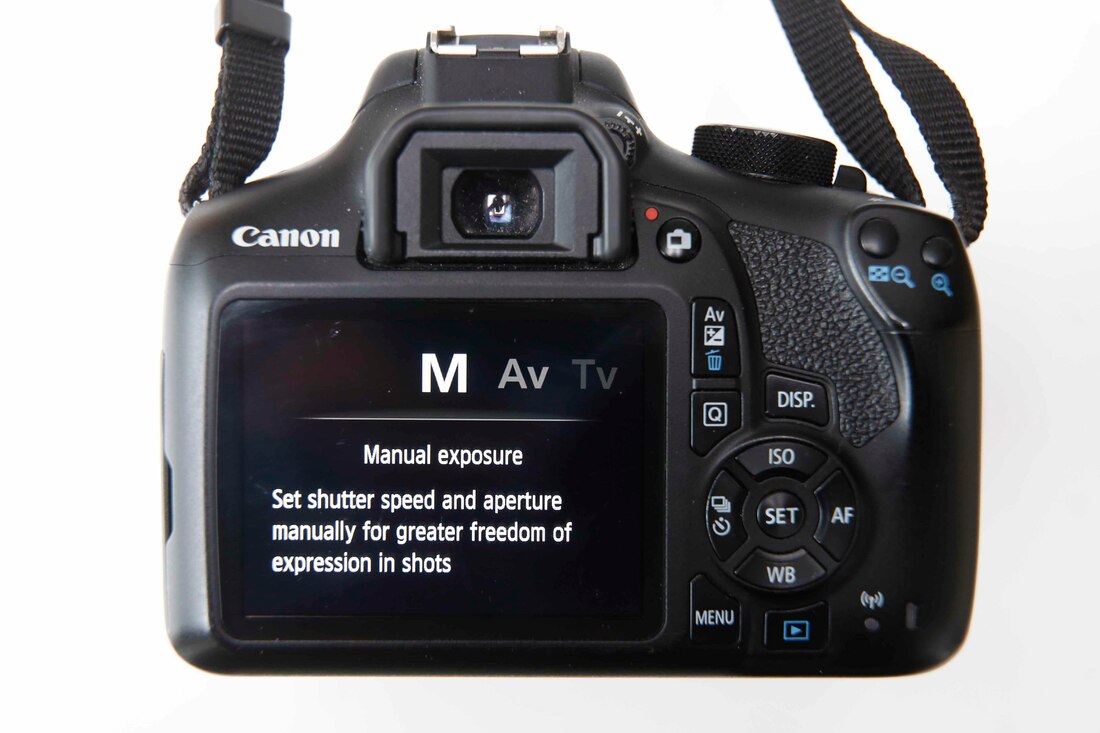
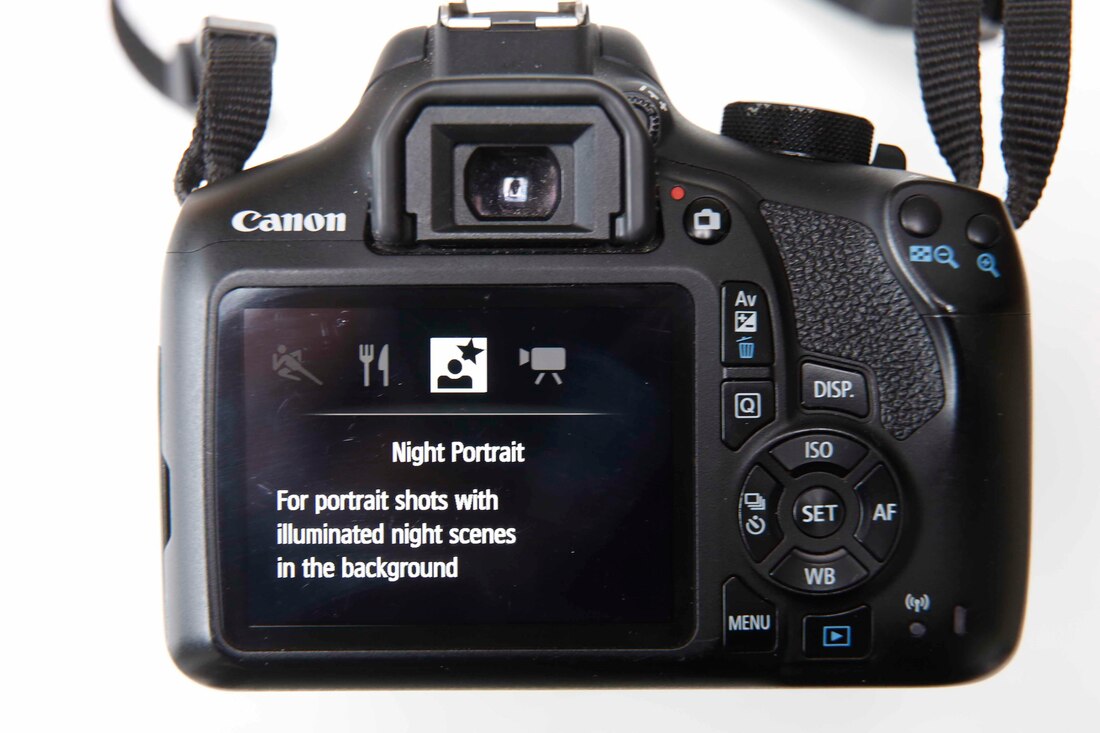
Camera Modes

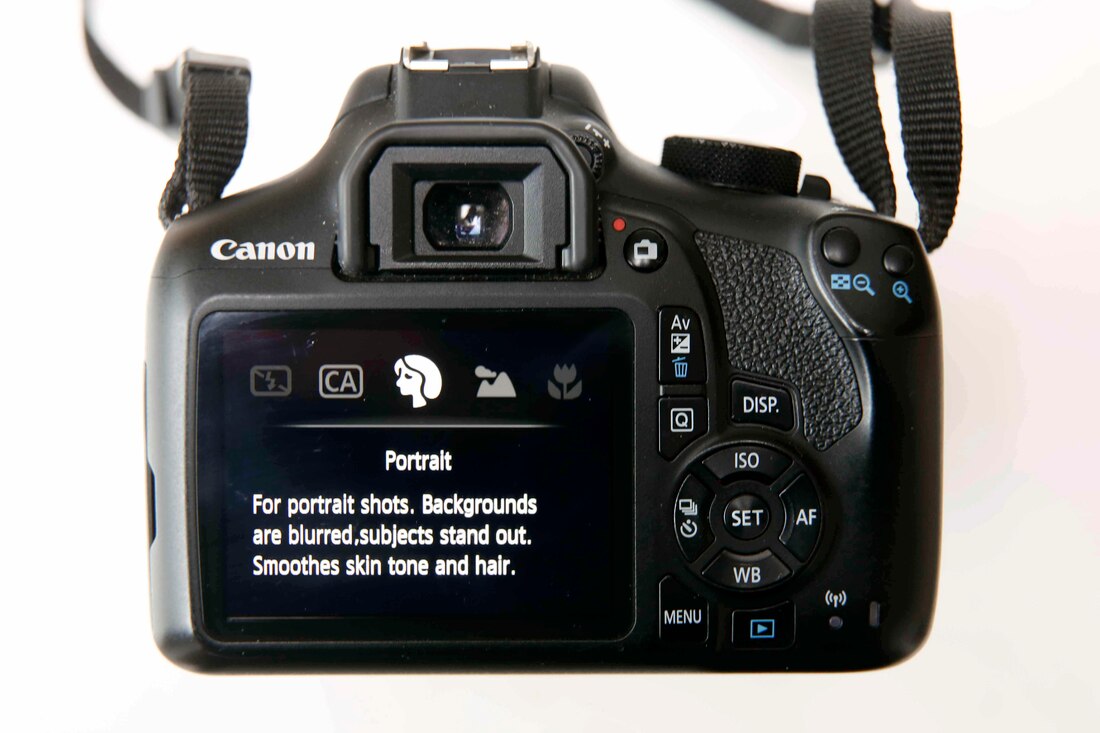
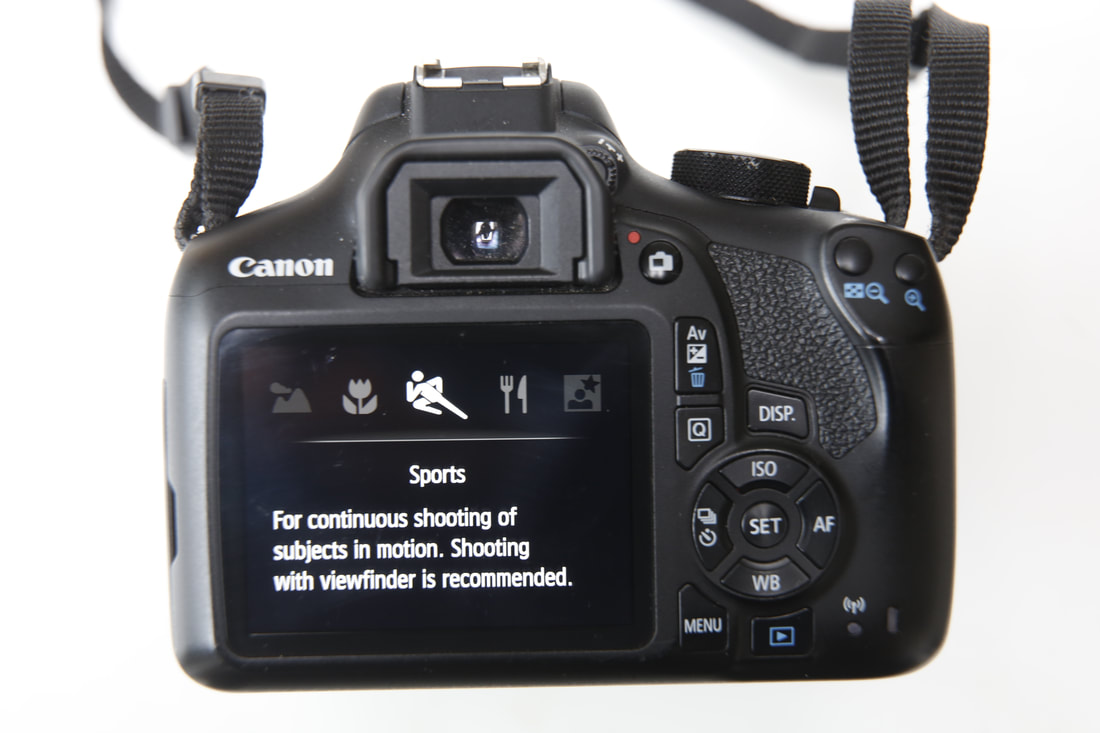
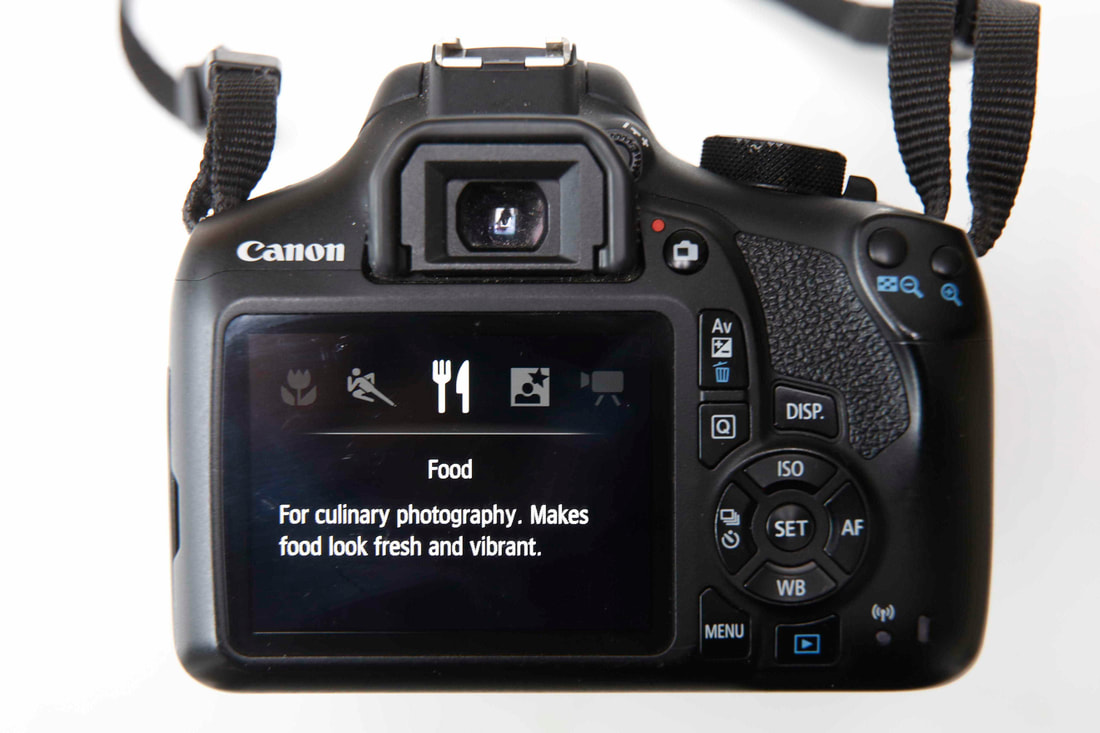
Scene Modes

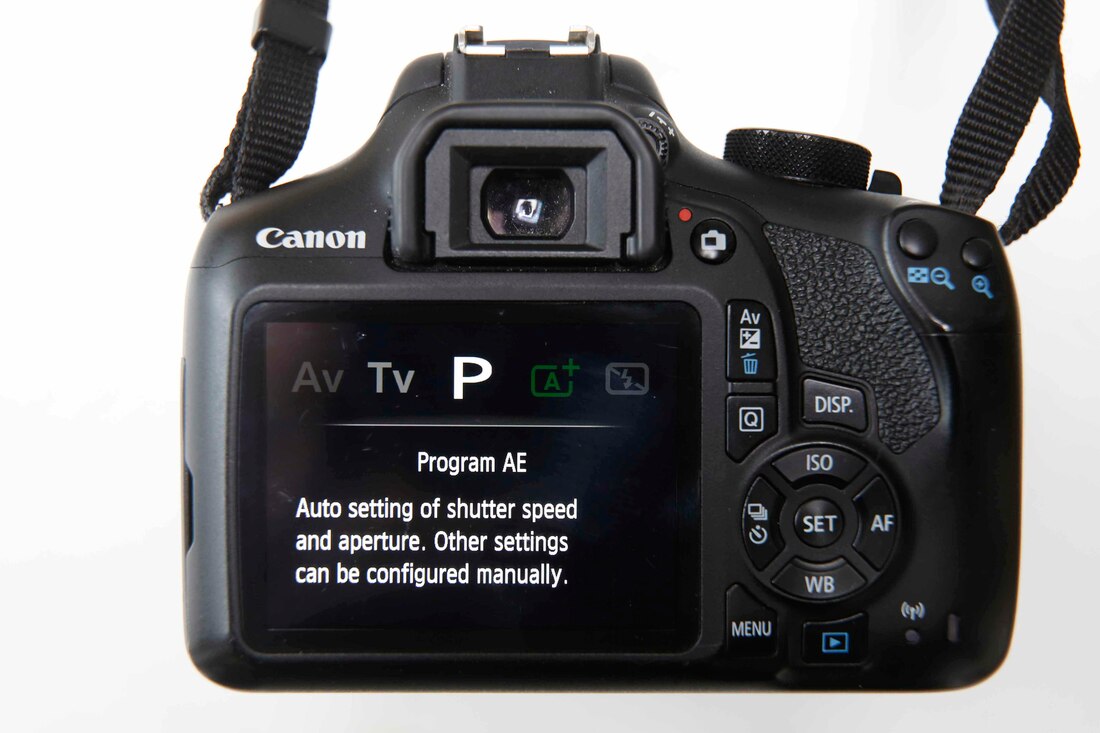
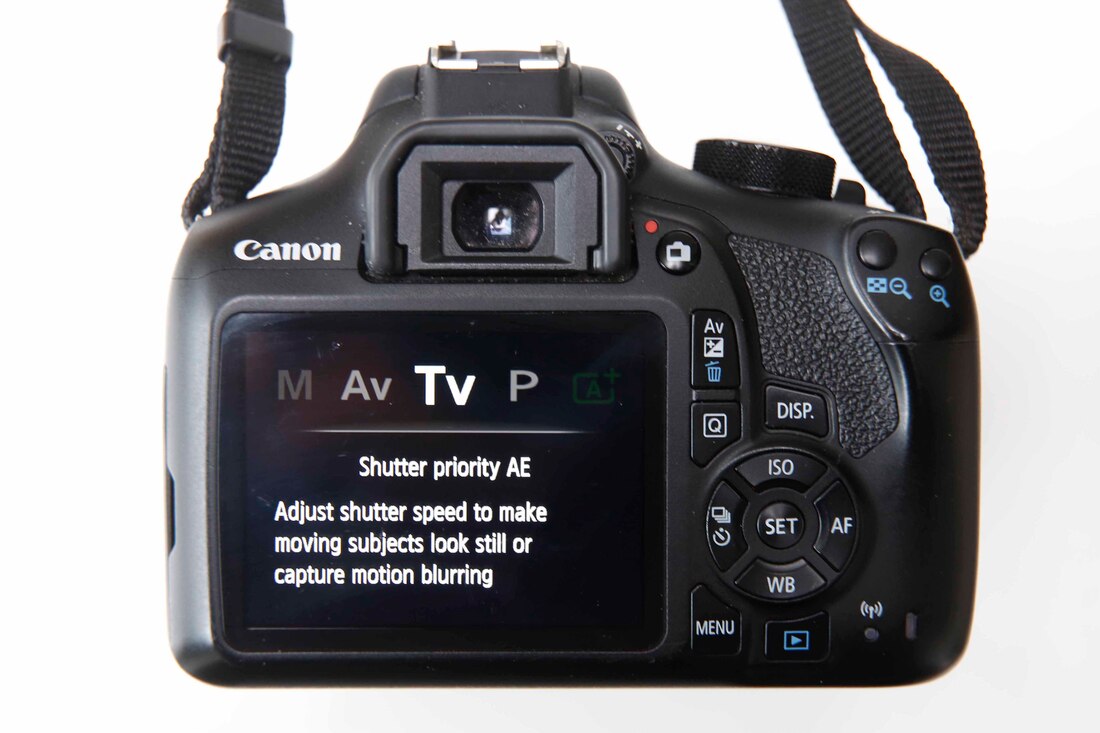
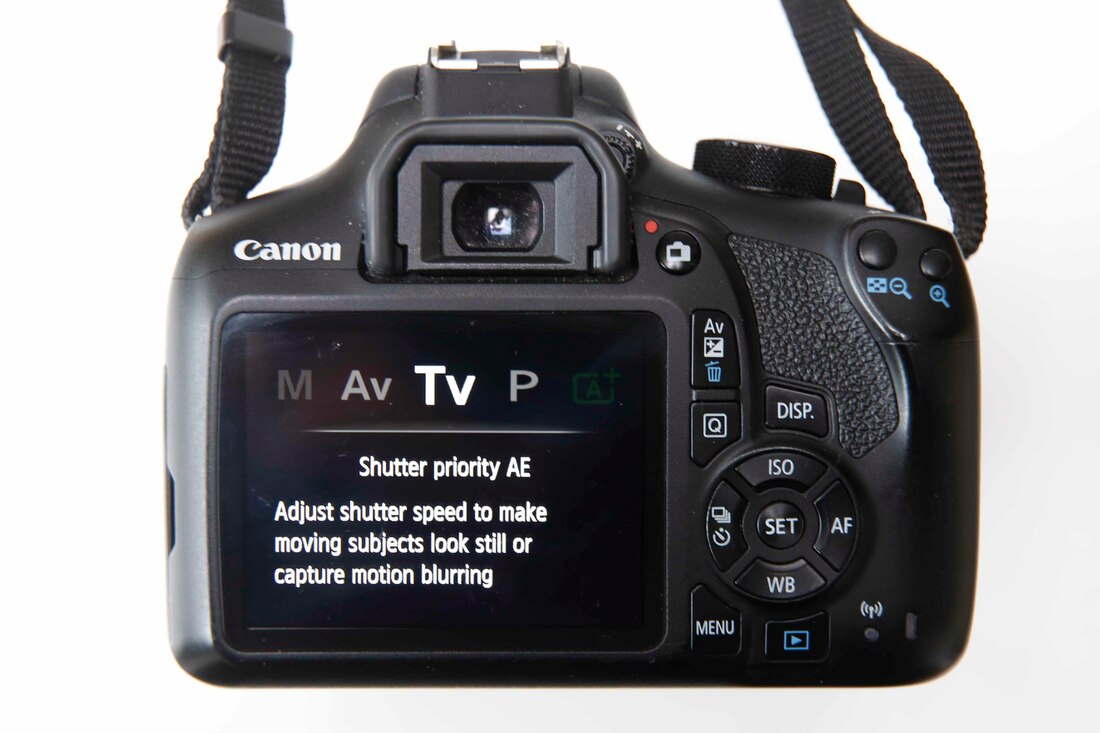
Shutter Priority
is one of the 2 Semi - Auto modes on your camera. It's the one we start with when we are getting beyond Auto and Program, it's our favourite mode for teaching as the Photographer can take control without running the risk of camera shake or subject blur, and we'll work with it today
(On Canon cameras it is shown as Tv (Time value) on Nikon and most other cameras S is the symbol )
In Shutter Priority the Photographer sets the Shutter Speed and the Camera automatically sets the Aperture. The photographer can also set the ISO or let the camera take control of this.
The photographer has to make a series of decisions about the kind of image he is shooting and whether he wants a fast shutter speed or a slow shutter speed to capture it successfully. This will be determined by what he is shooting - the lighting conditions - possibly the weather and also his equipment.
Let's take a look at our Shutter Speed tutorial
Using Shutter Priority
The main control dial is in front of the control dial on Canon cameras and on most Nikons it's at the back of the top plate. Use your index finger to move the dial. Turning to the right will give a faster shutter and going to the left will make the shutter slower.

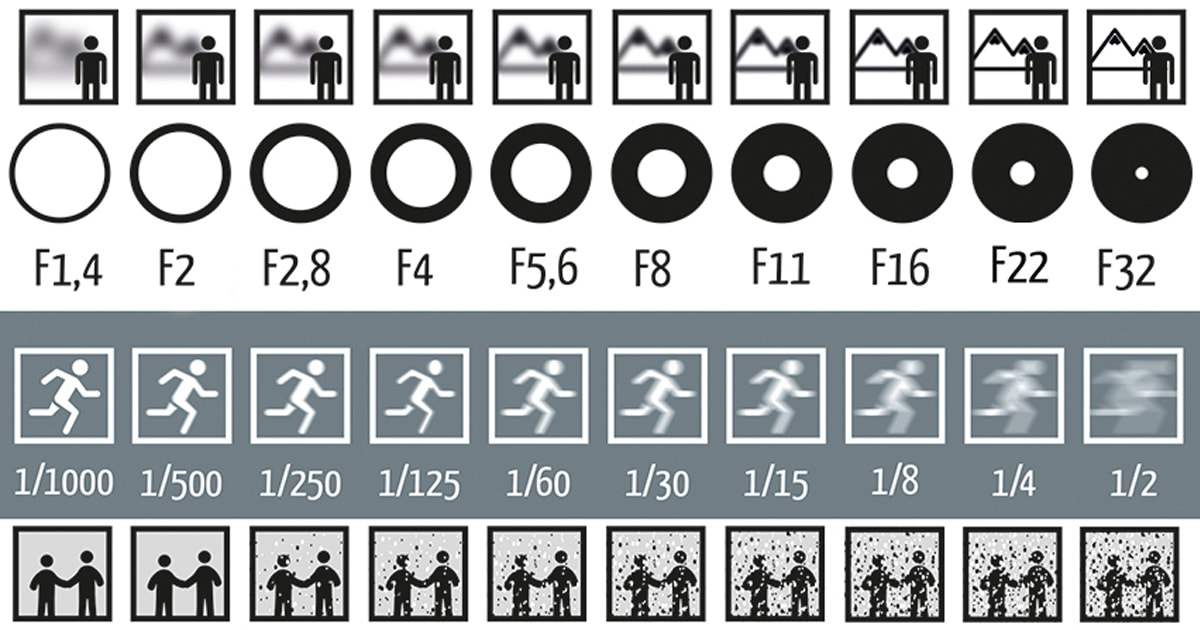
The photographer needs to be aware of "safe" working speeds when shooting handheld.
1/60th sec and below DANGER of camera shake and subject motion blur
1/200th sec Camera shake eliminated completely - motion blur gone in most human movement
1/500th & 1/1000th and beyond Fast human movement is sharp. Moving vehicles sharp
Practical
shoot images of human movement at a variety of speeds to understand the effect of Shutter speeds on movement and understand how to set a safe speed for a variety of different subjects.
You can walk, run on the spot, wave your arms around & throw tennis balls
1 sec
1/8th sec
1/30th sec
1/200th sec
1/1000th sec
